I am working on an ASP.NET Core application, the latest and greatest in web application architecture from Microsoft. I need to be able to run and debug my code from Visual Studio but with both a custom domain (other than localhost) and HTTPS (SSL/TLS) certificate.
So normally Visual Studio uses IIS Express for this purpose. It can do HTTPS for localhost with a self-signed certificate. You can also configure it to use a custom domain name by tweaking the applicationHost.config, but there are many drawbacks like needing to run Visual Studio as Administrator, unable to version control applicationHost.config since it is developer specific, and having to do some voodoo to get a custom certificate working.
I next looked at using local IIS, but it seems ASP.NET Core doesn’t support that configuration for Visual Studio debugging. I guess the rationale is this is the new world order, this is ASP.NET on Windows, Linux, Mac. Forget IIS. IIS is only a proxy to Kestrel.
So what about Kestrel? I can debug directly using Kestrel, it’s an option in the menu bar. Just expand the “IIS Express” button and click on the name of your application. I looked around and found lots of pieces to this puzzle. Yes it can do HTTPS, and custom domains, and I it was way simpler than all the weird bindings stuff IIS Express was using. OK. Well let me put all what I found together so it solves my exact problem.
- Visual Studio 2017
- OpenSSL for Windows
- Text Editor to modify the HOSTS file
**
Step 1: Point a custom domain to your local computer**
Chose a local domain and edit your HOSTS file so it will point to your local computer. If you are not familiar, this is a text file that acts as a simple DNS server. It is great for local testing or even accessing external sites before DNS is fully configured.
I use a CNAME convention using production as the root. If my production site is apps.garyscott.net then my other environments will be qc.apps.garyscott.net, staging.apps.garyscott.net, test.apps.garyscott.net, and so on, then I choose local.apps.garyscott.net for my local domain name.
The HOSTS file is in the Windows folder so you will need Administrator access to edit it.
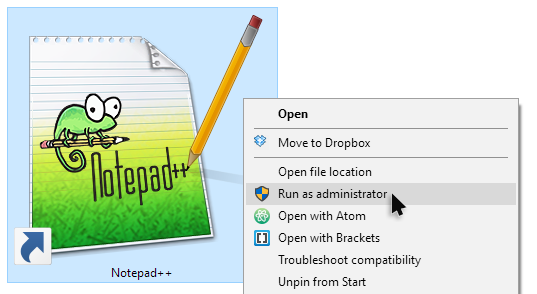
Right-click on your text editor icon and choose Run as Administrator then click Yes when User Access Control prompts you.
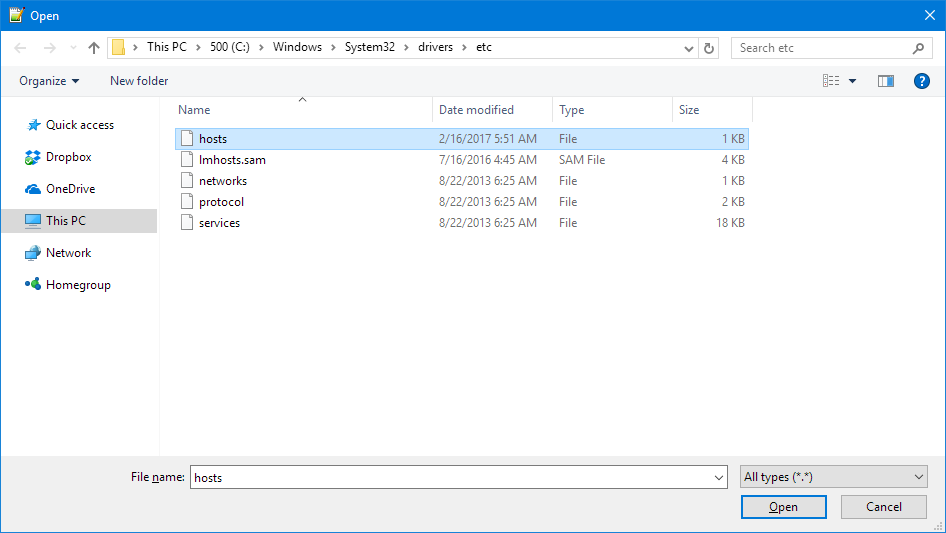
Choose Open File option and navigate to C:\Windows\System32\drivers\etc. Some folders in this path might be hidden so you might have to type it in. If this folder is blank then change the file types from txt to all files. Open the file named “hosts”.
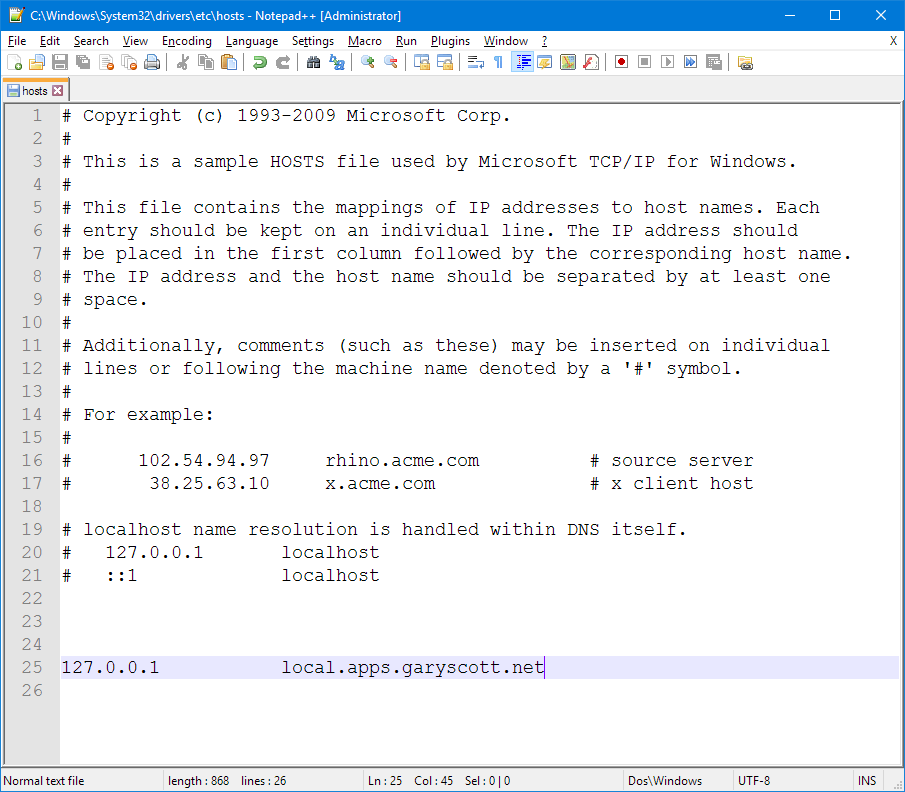
Near the bottom of the file enter 127.0.0.1, at least one space or tab, then local.apps.garyscott.net or what ever domain your chose. Save it and close.
Step 2: Create a SSL/TLS/HTTPS Certificate for your custom domain.
This step can be tricky but with OpenSSL you can accomplish it in two commands and a config file.
Install OpenSSL, if you don’t have it already. They don’t have an official binary so check out https://www.openssl.org/community/binaries.html for details. I have used Shining Light Production’s version just fine in the past. Take note of where you installed it, mine is in D:\OpenSSL-Win32” as you will need this path later.
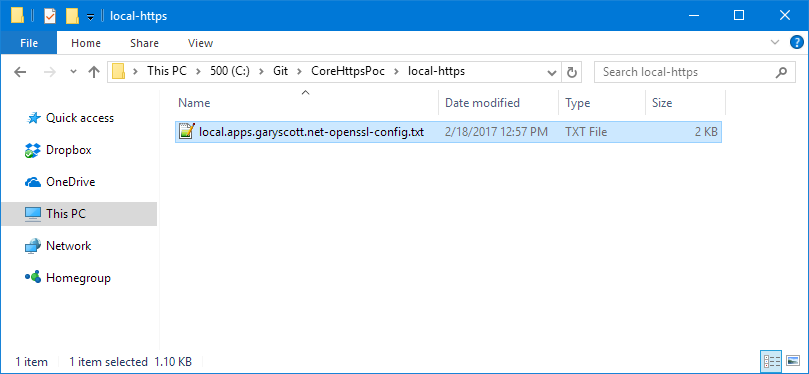
Create a working folder so we can keep track of the files we are about to create. Heck even better, make this part of your git repo for this project. You use git right? I am going to use C:\Git\CoreHttpsPoc\local-https which is in my Visual Studio solution folder.
Create a text file and give is some name related to “openssl config”. I am going to use local.apps.garyscott.net-openssl-config.txt.
This file will have all the openssl stuff you need to create your certificate without typing anything in the command prompt. This file may not be 100% correct as I am not an expert, but it worked for me. Use this text as a baseline then edit the fields to match your needs. The commonName field is the most important as it needs to match the entry you set up in the HOSTS file. Save it.
HOME = .
RANDFILE = $ENV::HOME/.rnd
default_days = 3650
distinguished_name = req_distinguished_name
[req_distinguished_name]
countryName = Country Name (2 letter code)
countryName_default = US
countryName_min = 2
countryName_max = 2
stateOrProvinceName = State or Province Name (full name)
stateOrProvinceName_default = California
0.organizationName = Organization Name (eg, company)
0.organizationName_default = garyscott.net
organizationalUnitName = Organizational Unit Name (eg, section)
organizationalUnitName_default = blog
commonName = Common Name (e.g. server FQDN or YOUR name)
commonName_max = 64
commonName_default = local.apps.garyscott.net
emailAddress = Email Address
emailAddress_max = 64
emailAddress_default = gary@garyscott.net
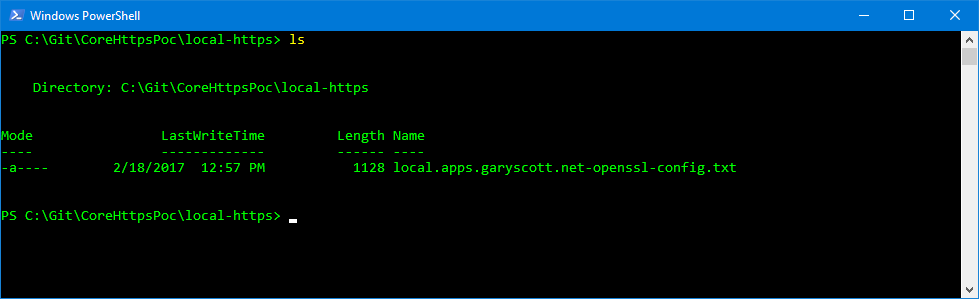
Open the command prompt of choice, mine being Powershell and change into this working folder. I did an “ls” to see my config file.
Enter this command. You might need to tweak it based upon where you installed OpenSSL, the name of your config file, and desired output files.
D:\OpenSSL-Win32\bin\openssl.exe req -x509 -sha256 -nodes -days 3650 -config local.apps.garyscott.net-openssl-config.txt -newkey rsa:2048 -keyout local.apps.garyscott.net-private.key -out local.apps.garyscott.net-cert.crt
You will be prompted to enter information about your certificate but since it loaded defaults from your config file you only have to press enter on each prompt.
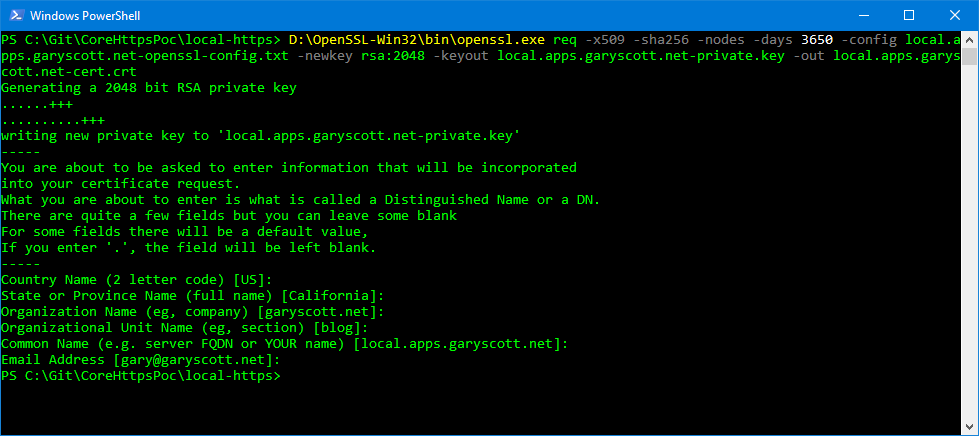
This will output two files. The private key and self-signed certificate.
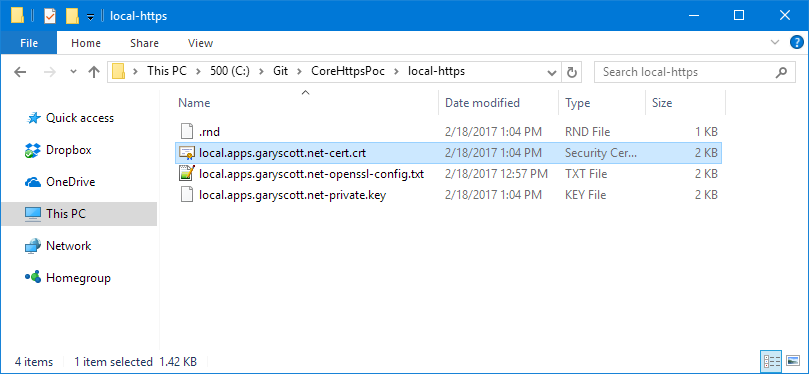
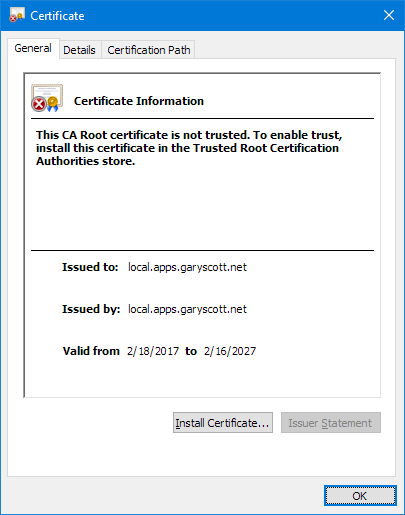
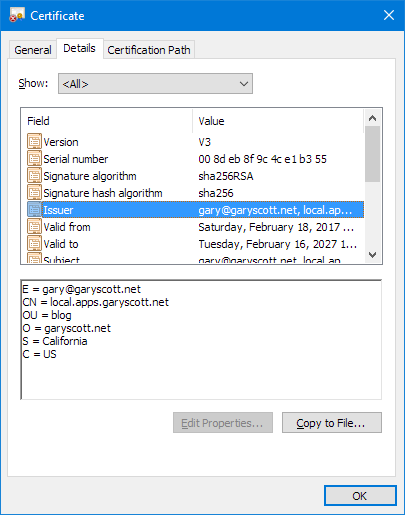
Double click the certificate file to view its properties.
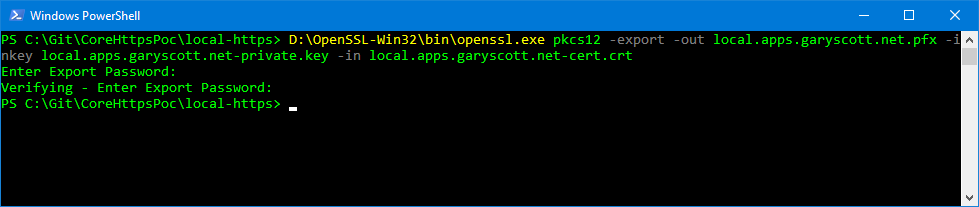
We need one more step to create a PFX used by Visual Studio and Kestrel. Run this command, tweaking as needed.
D:\OpenSSL-Win32\bin\openssl.exe pkcs12 -export -out local.apps.garyscott.net.pfx -inkey local.apps.garyscott.net-private.key -in local.apps.garyscott.net-cert.crt
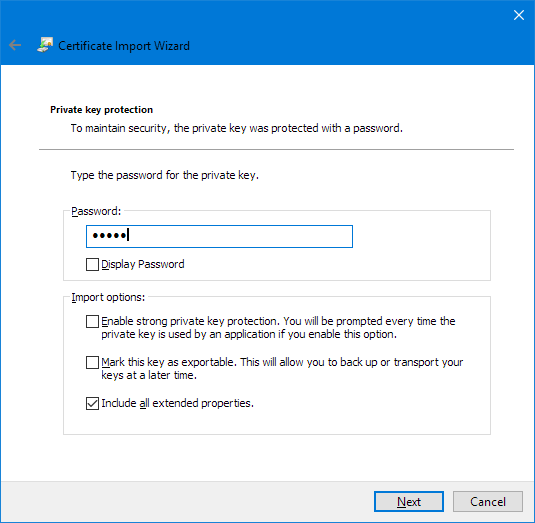
You will be prompted for a password. This password will be entered in your ASP.NET code, remember it. Keep it simple.
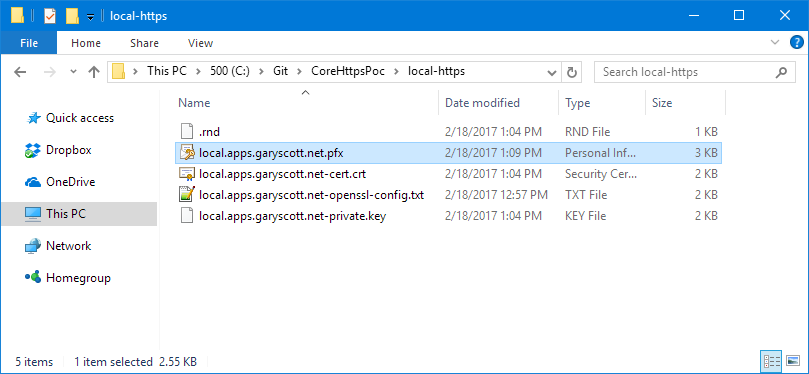
You will now have a PFX file. This contains the private key and public certificate and will be referenced by your ASP.NET code.
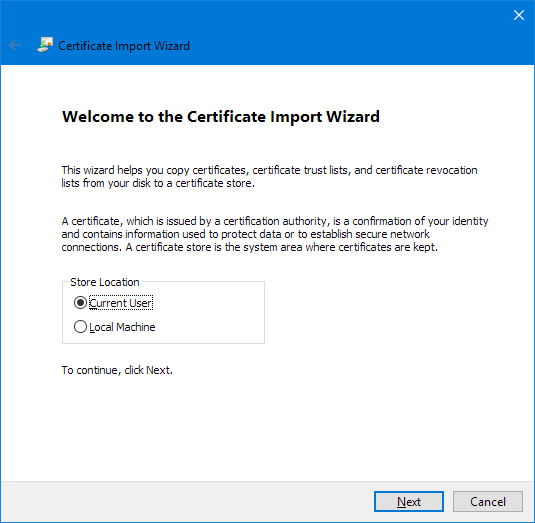
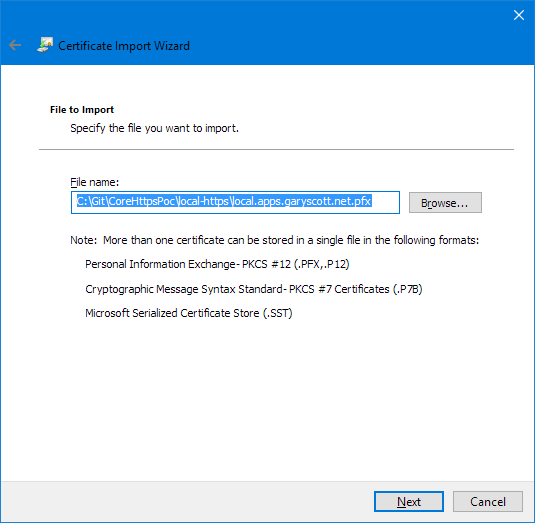
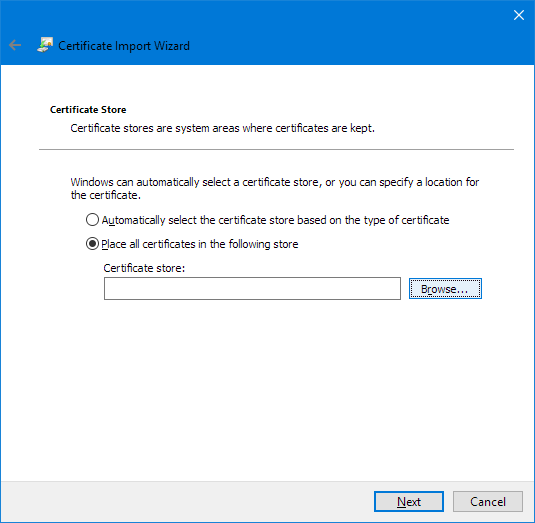
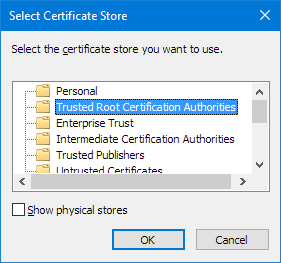
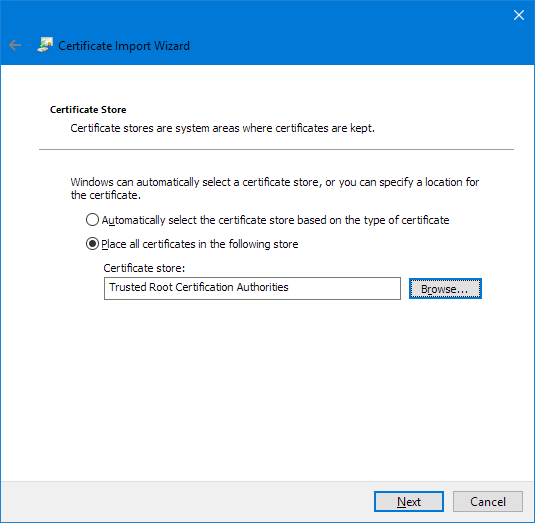
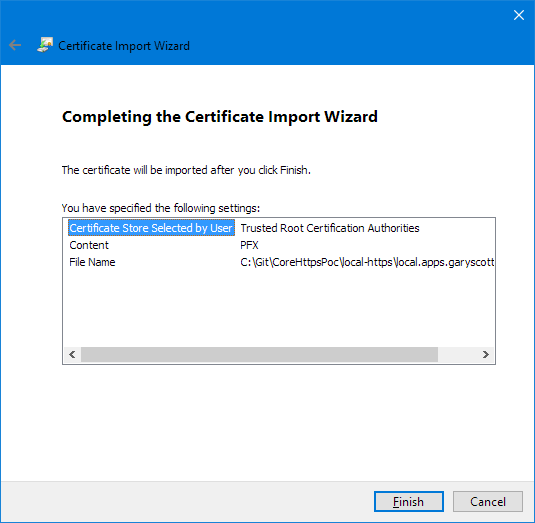
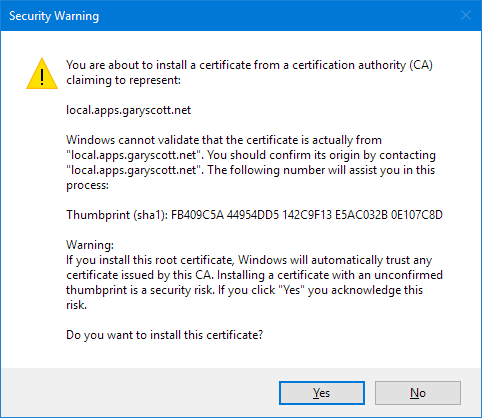
We need to import this certificate into our Trusted Root Certification Authorities Certificate Store on our workstation. This way our web browser will trust it and not display the nasty “untrusted” error.
Just double click on the PFX file and follow the prompts. Be careful to select the proper storage location as “Trusted Root Certification Authorities” otherwise you will still get an error in the browser.
Step 3: Setup your ASP.NET Code Project.
You have to modify the Program.cs and launchSettings.json files. You must use a Kestrel Option of UseHttps and a WebHostBuilder.UseUrls. I could not find an elegant way to use these with a specific launch setting. This is what I came up with. If I find a better way I will update this post.
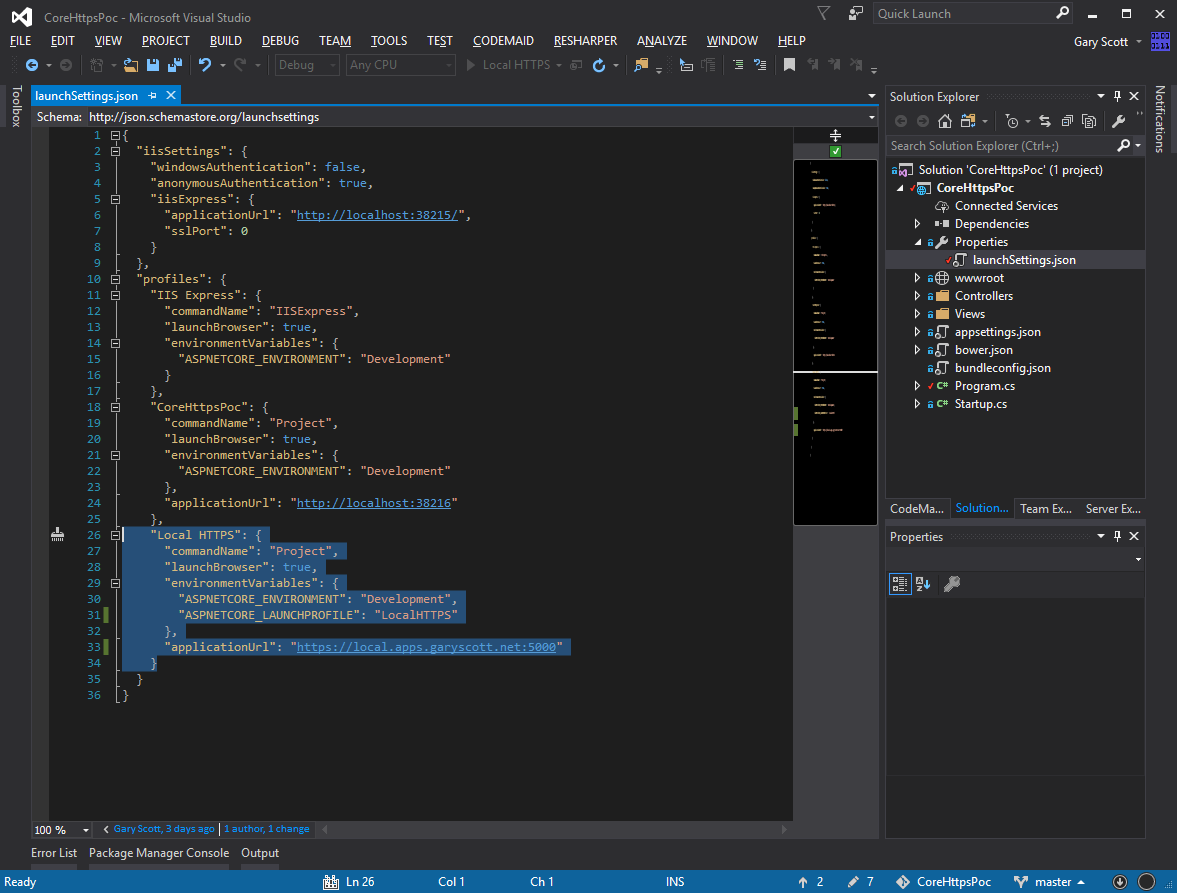
Open your ASP.NET Core project. Expand Properties and open launchSettings.json. You can see here there will be two profiles. One is “IIS Express” and the other will be the name of your project, in my case CoreHttpsPoc. These profiles are listed in a toolbar dropdown.
Make a copy of the project profile and past it below. Make sure you get the commas and curly brackets right so the json document is valid. I named mine “Local HTTPS” but call yours whatever you want to appear in the toolbar. Change the applicationUrl to use the domain we set up before and choose a port. I am not 100% sure which ports we can use, but I think as long as you are above 1024 you will be good. I chose 5000 so my URL is https://local.apps.garyscott.net:5000/. I created an environment variable to use in the next file. I could have used the “Development” environment, but I wanted to be able to switch back and run everything like it does out of the box.
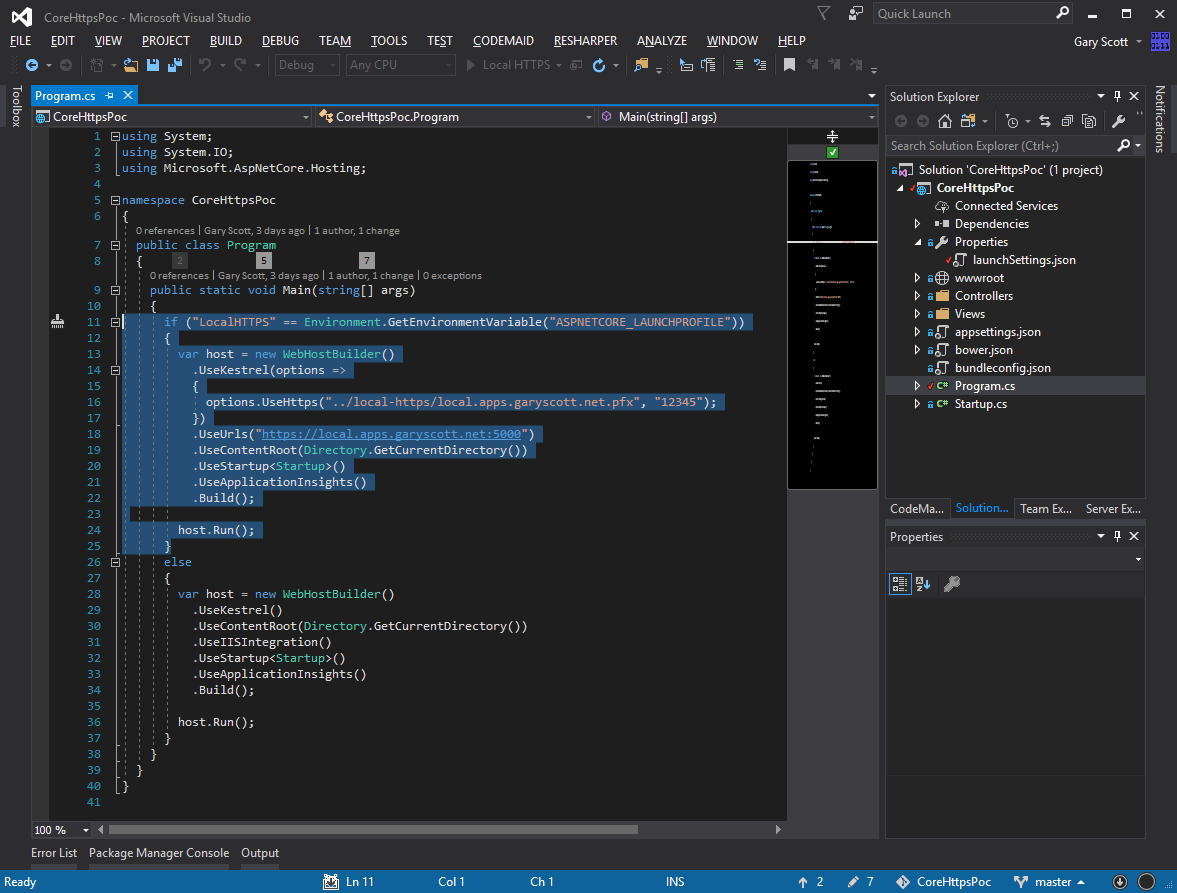
Open Program.cs in the root of the project. You will see the WebHostBuilder. You will need to add an options lambda to the UseKestrel() call, and add a UseUrls() call to the WebHostBuilder chain. This is where I could not figure out how to change the configuration like you can in the Startup class. I created an if/else statement to set the options I wanted. I did the whole block in each if/else to keep it simple. Basically IF will run with my modifications, and ELSE will be the way it is out-of-the-box.

- Add .UseUrls(“https://local.apps.garyscott.net:5000“)
- .UseKestrel() becomes .UseKestrel(options => {options.UseHttps(“../local-https/local.apps.garyscott.net.pfx”, “12345”);})
That’s it. Select “Local HTTPS” in Visual Studio to run it and see.
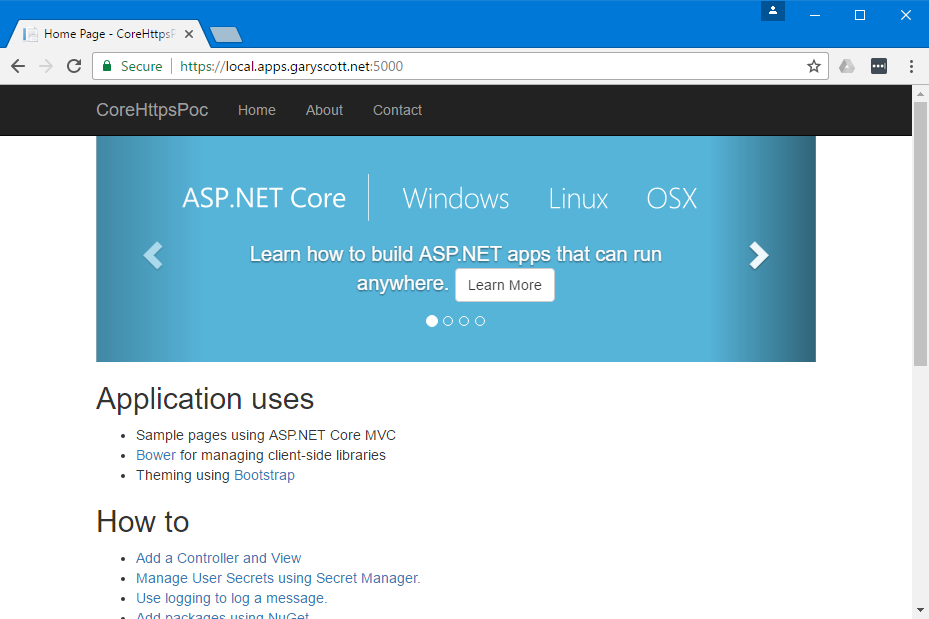
Enjoy!