So some computer cases come with feet that physically attached, either screwed on, bolted on, or snapped on. These are great as they rarely come off. Other cases, even high quality ones, come with stick on feet. I hate these. After a few times sliding your computer under you desk they come off and then you scratch your floor with the metal of the case or you case wobbles. Then the lost foot becomes a cat toy, never to be seen again!
No more, I say! I replaced my stick-on feet with bolt-on feet and this is how I did it. I hope this helps you too.
First step is to inspect you case. See if there are holes under the stick on feet. Luckily mine had holes so I did not have to drill any. If you have no holes then you will want to drill holes, but you have to be very careful of the metal shavings as they can short out your computer. Drill the holes when the case is empty or stuff a towel or magnet in there to help catch the shavings.
On inspection look for clearance issues. All my holes had goo clearance except for one up front. I had to remove my memory card reader to get access and even then it was a tight fit but doable.
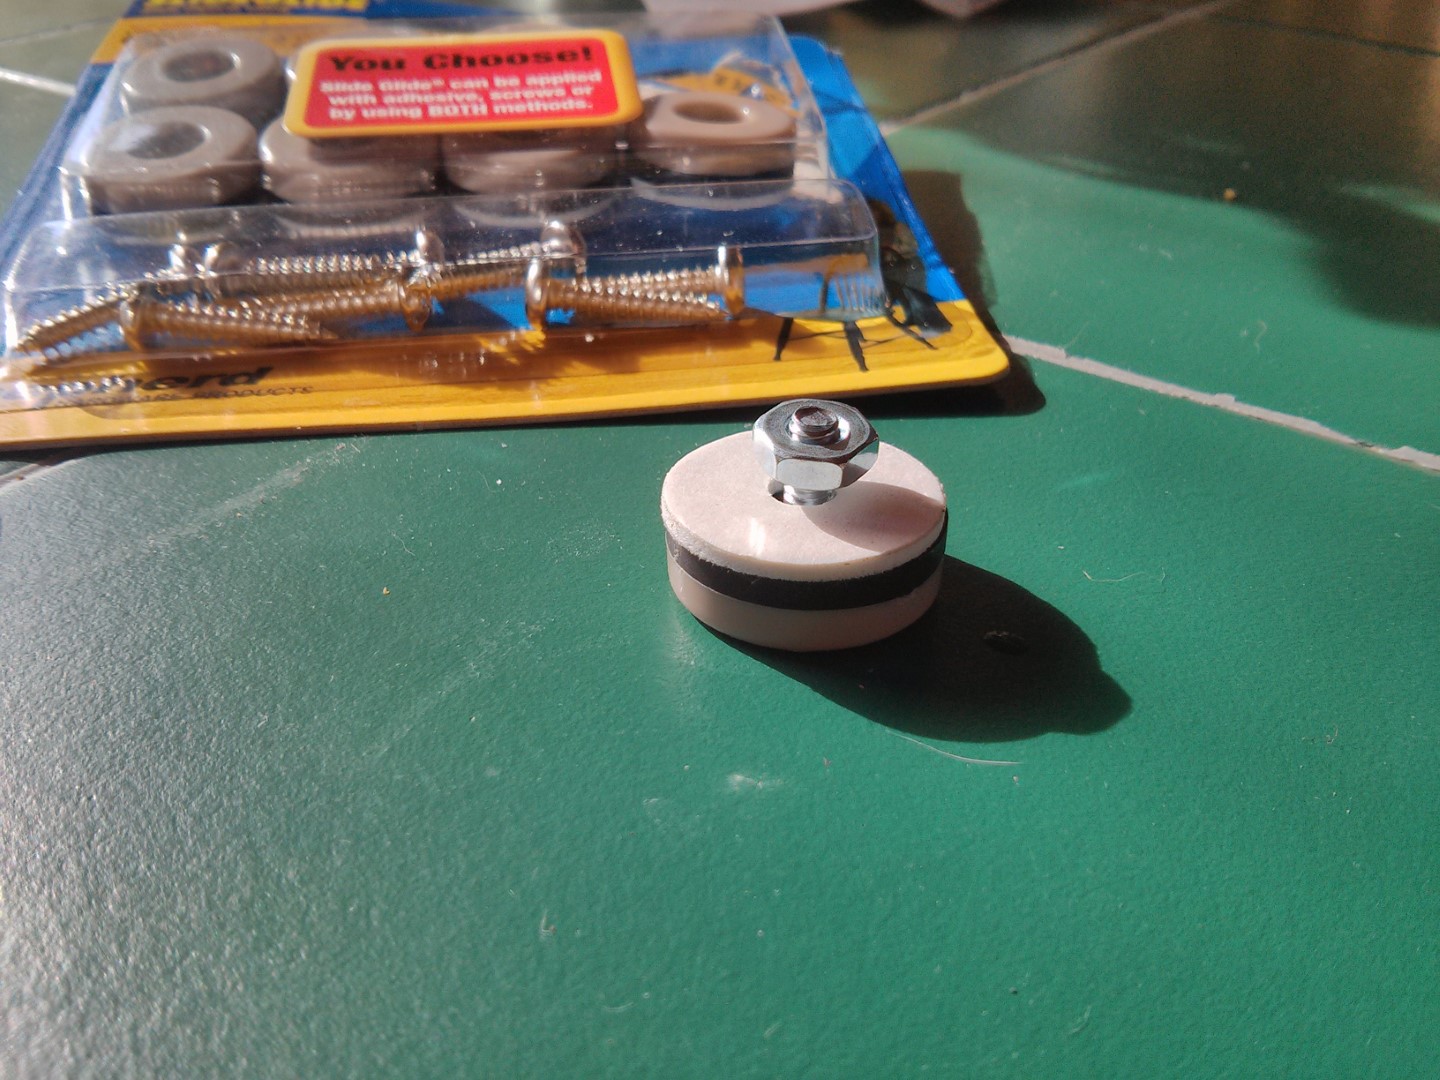
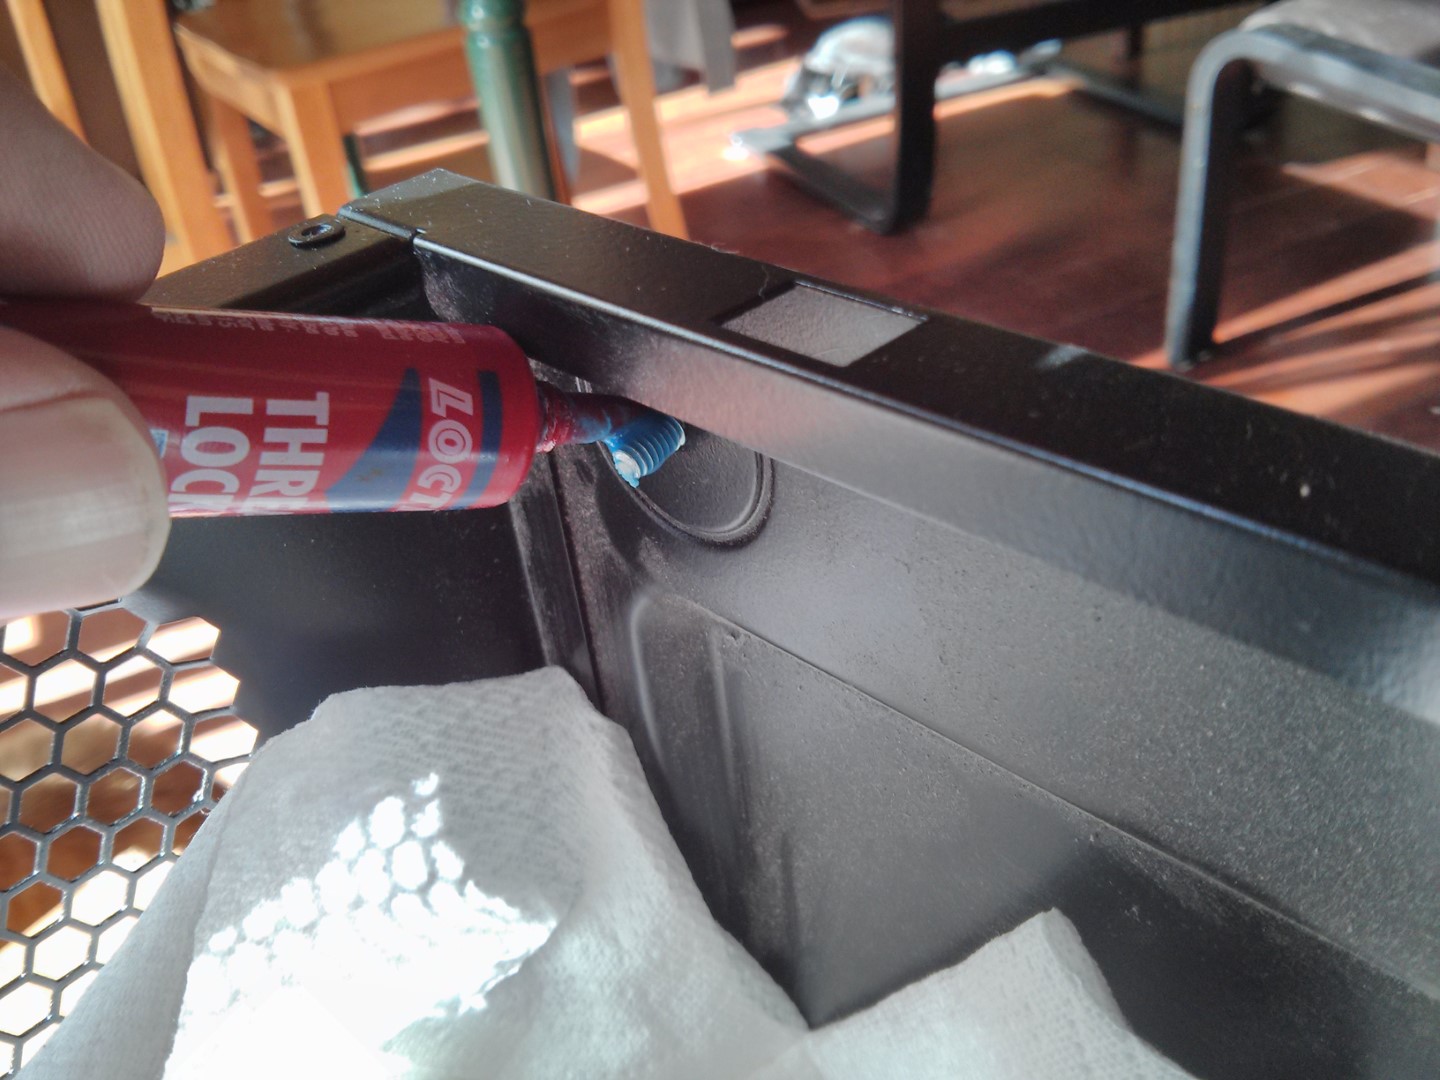
Go to the hardware store and buy some feet that can be bolted on. I found one that came with screws and I simply bought nuts and bolts to go in the screw holes. The length of the bolt can be tricky. I opted to for some loner ones, 1/2 inch and in the end they were almost too long. I also used Loctite on the nuts to keep them from wiggling loose. I used a towel to catch the drippings just in case it would mess up my motherboard.
Gather Materials
- Feet
- Nuts and Bolts
- Pliers
- Screwdriver
- Loctite

Test fit the bolt and nut into a foot.
Pull of the stick-on feet. There is a hole under the adhesive.

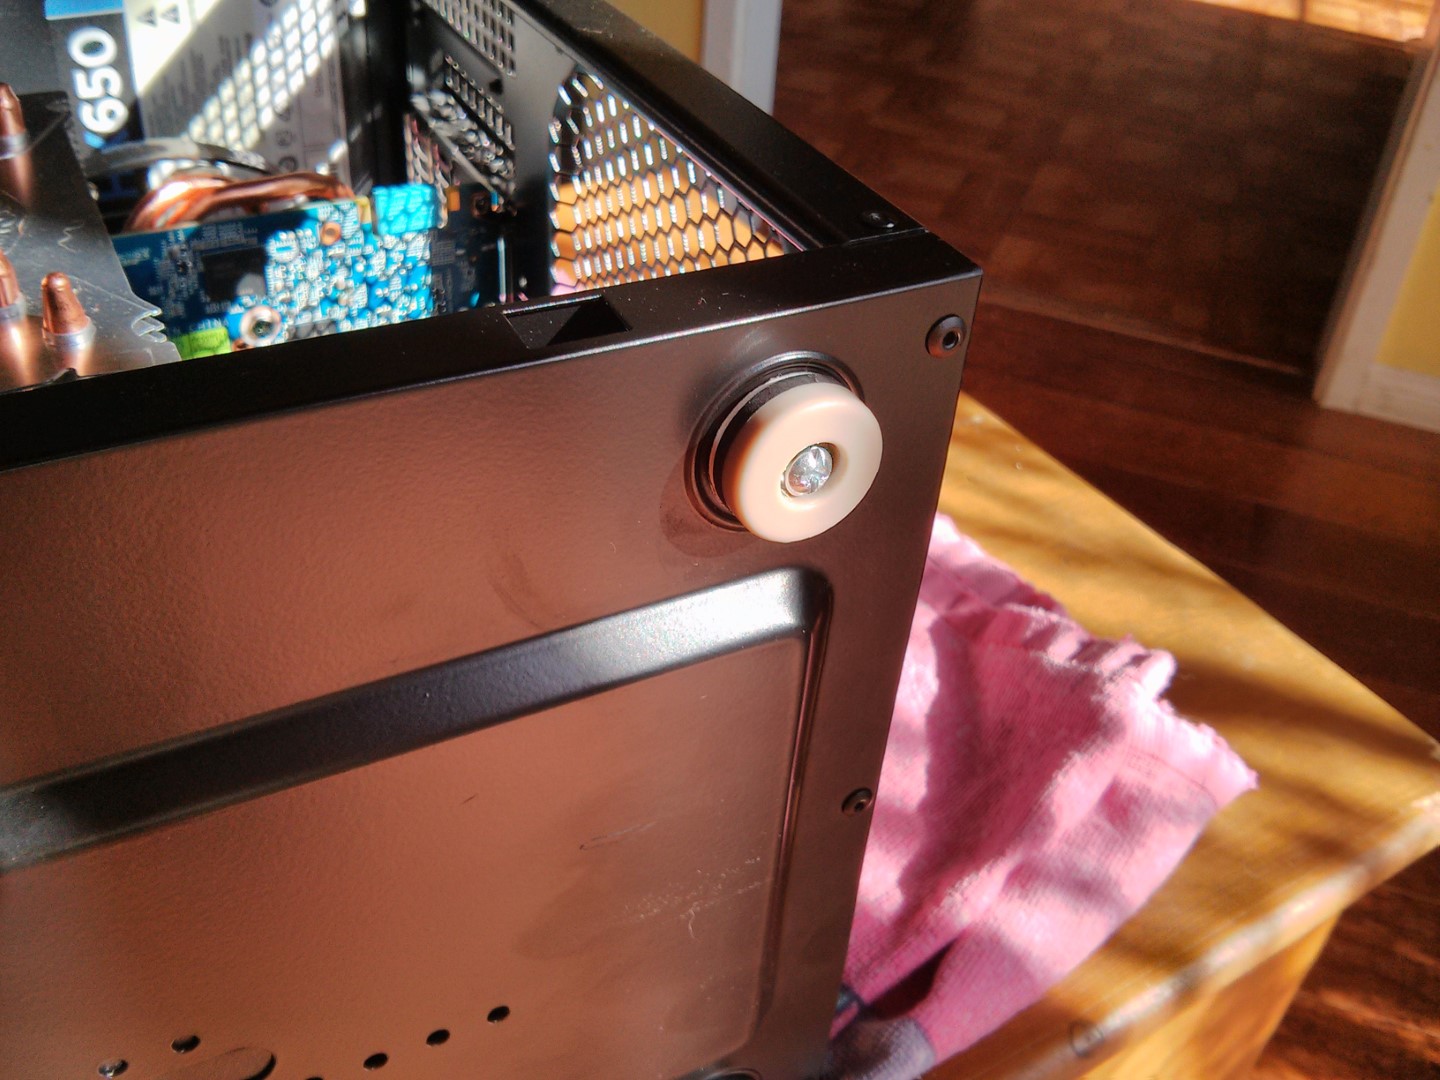
My bolt-on feet also had adhesive so I used that to hole the foot in places with the bolt.
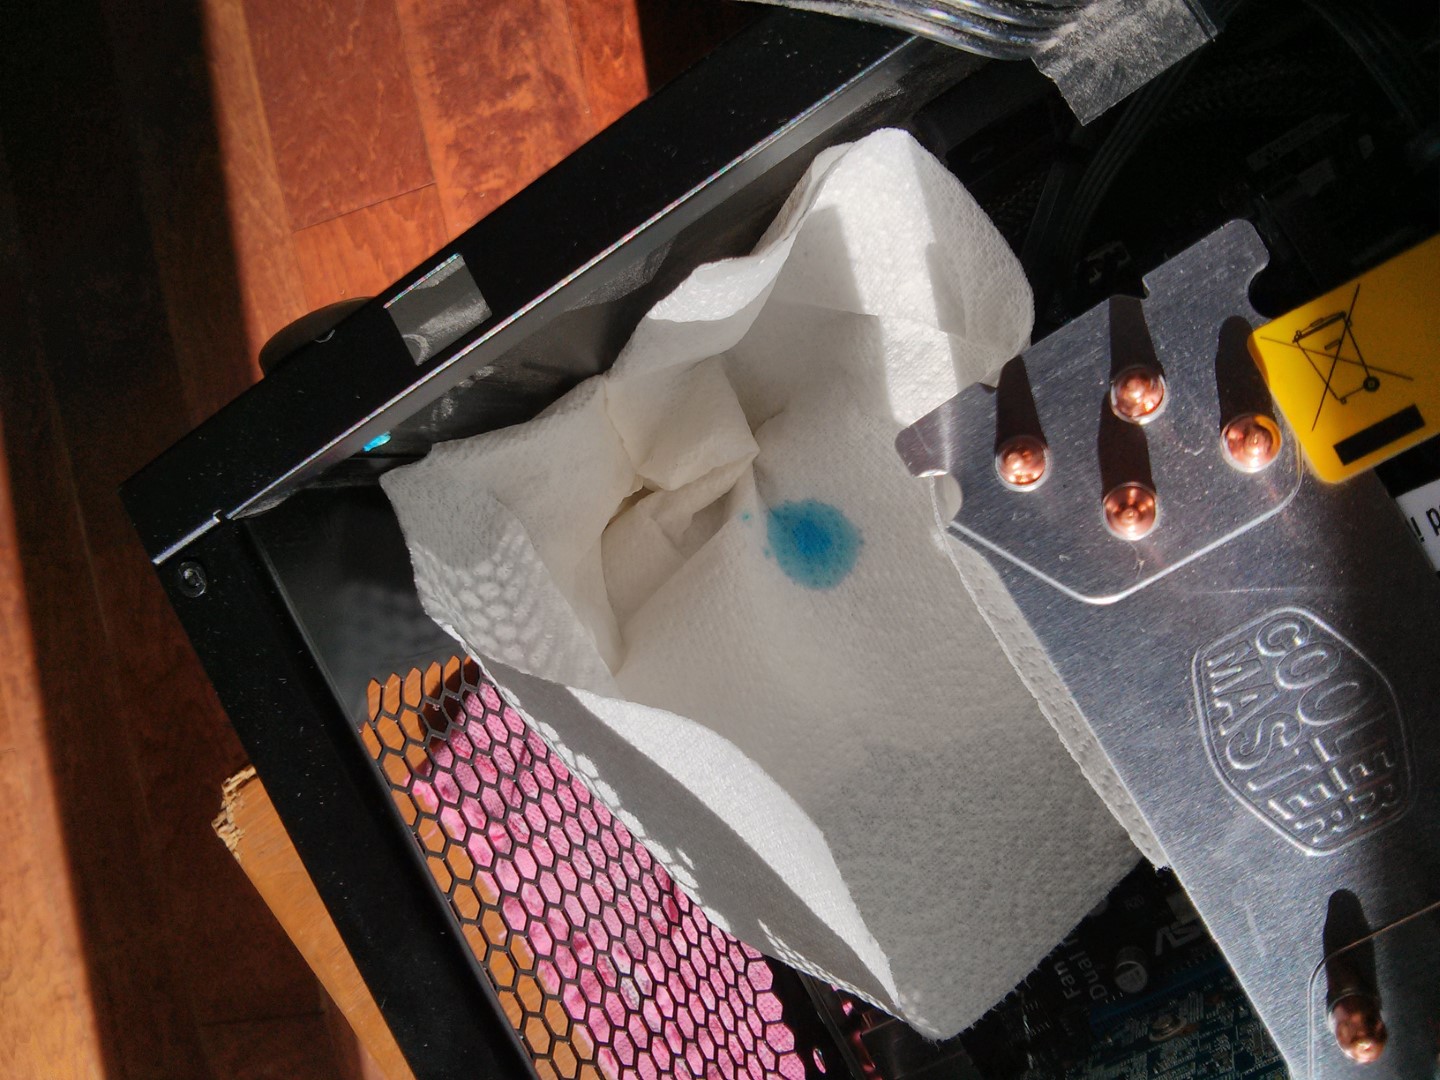
Stuff the towel in the case below the bolt and squirt on some Loctite.
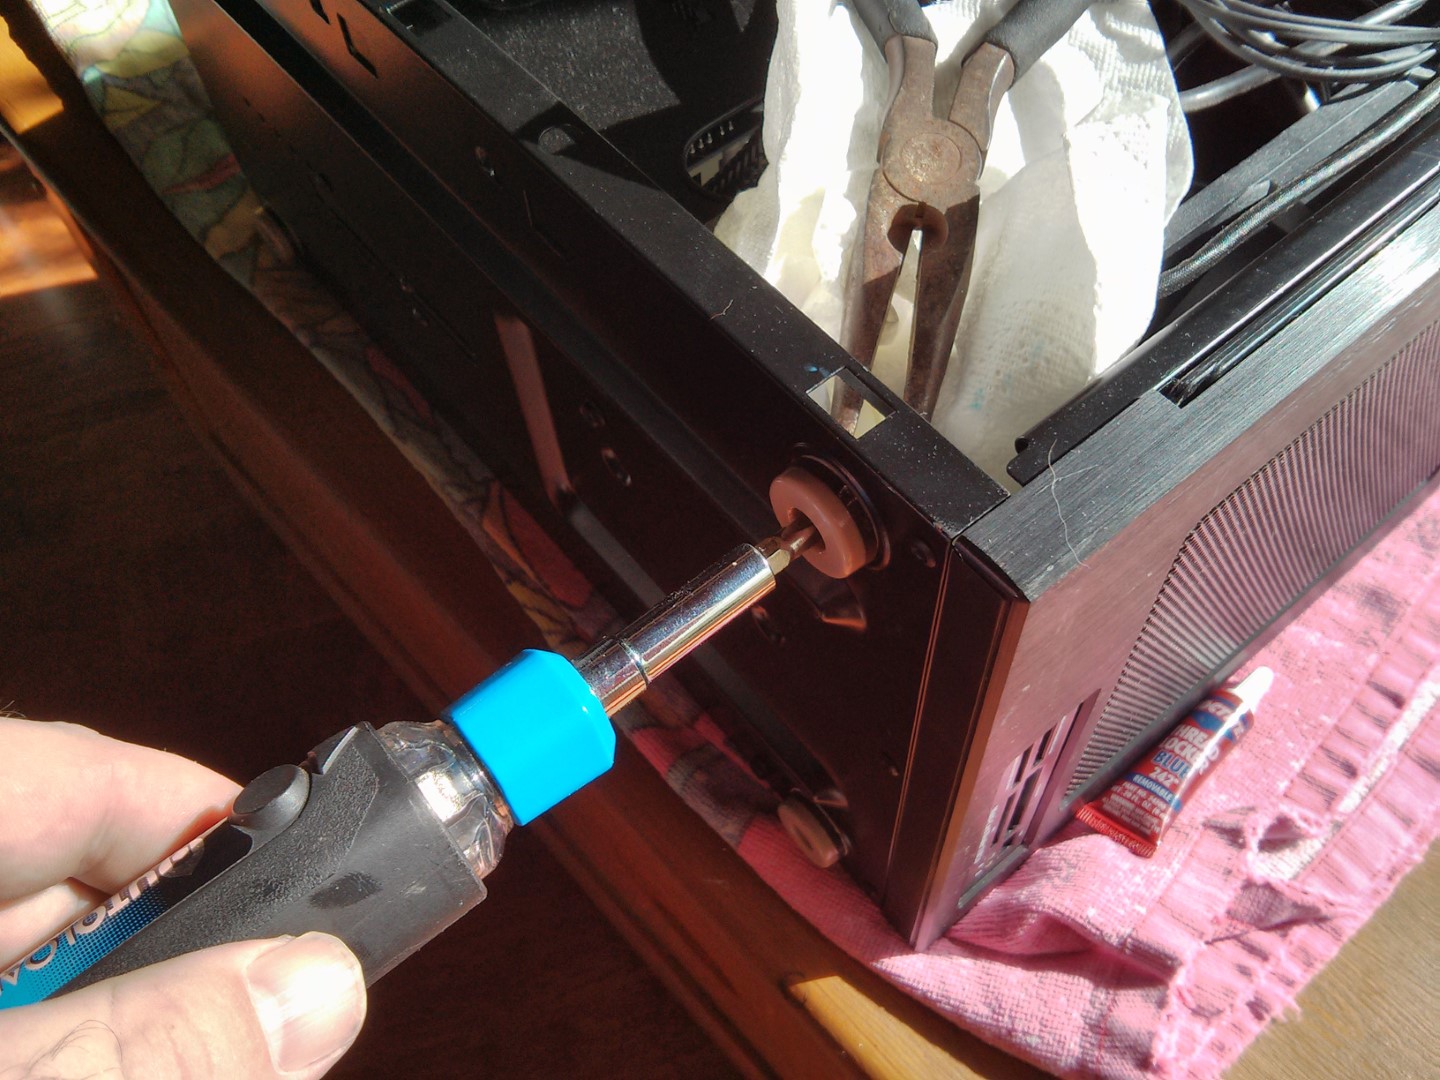
Use pliers to hold onto the nut.
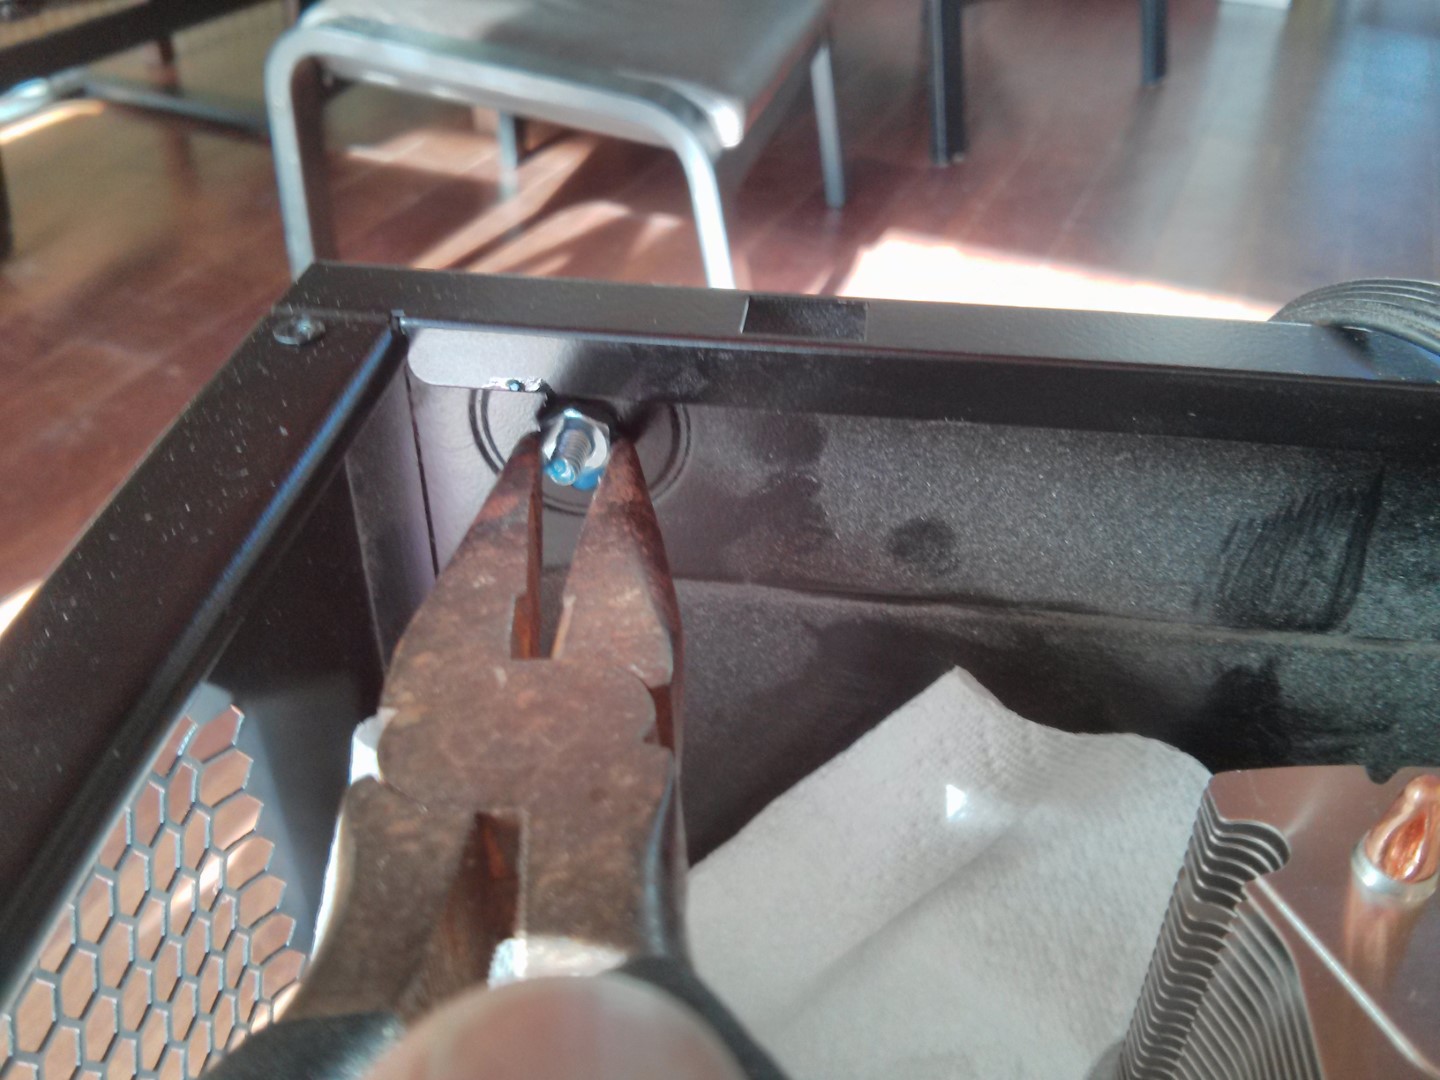
Use a screwdriver to tighten down the bolt while holding the nut with the pliers.
Look at the mess I made. This would have been on my motherboard if I had not stuffed this towel in there.
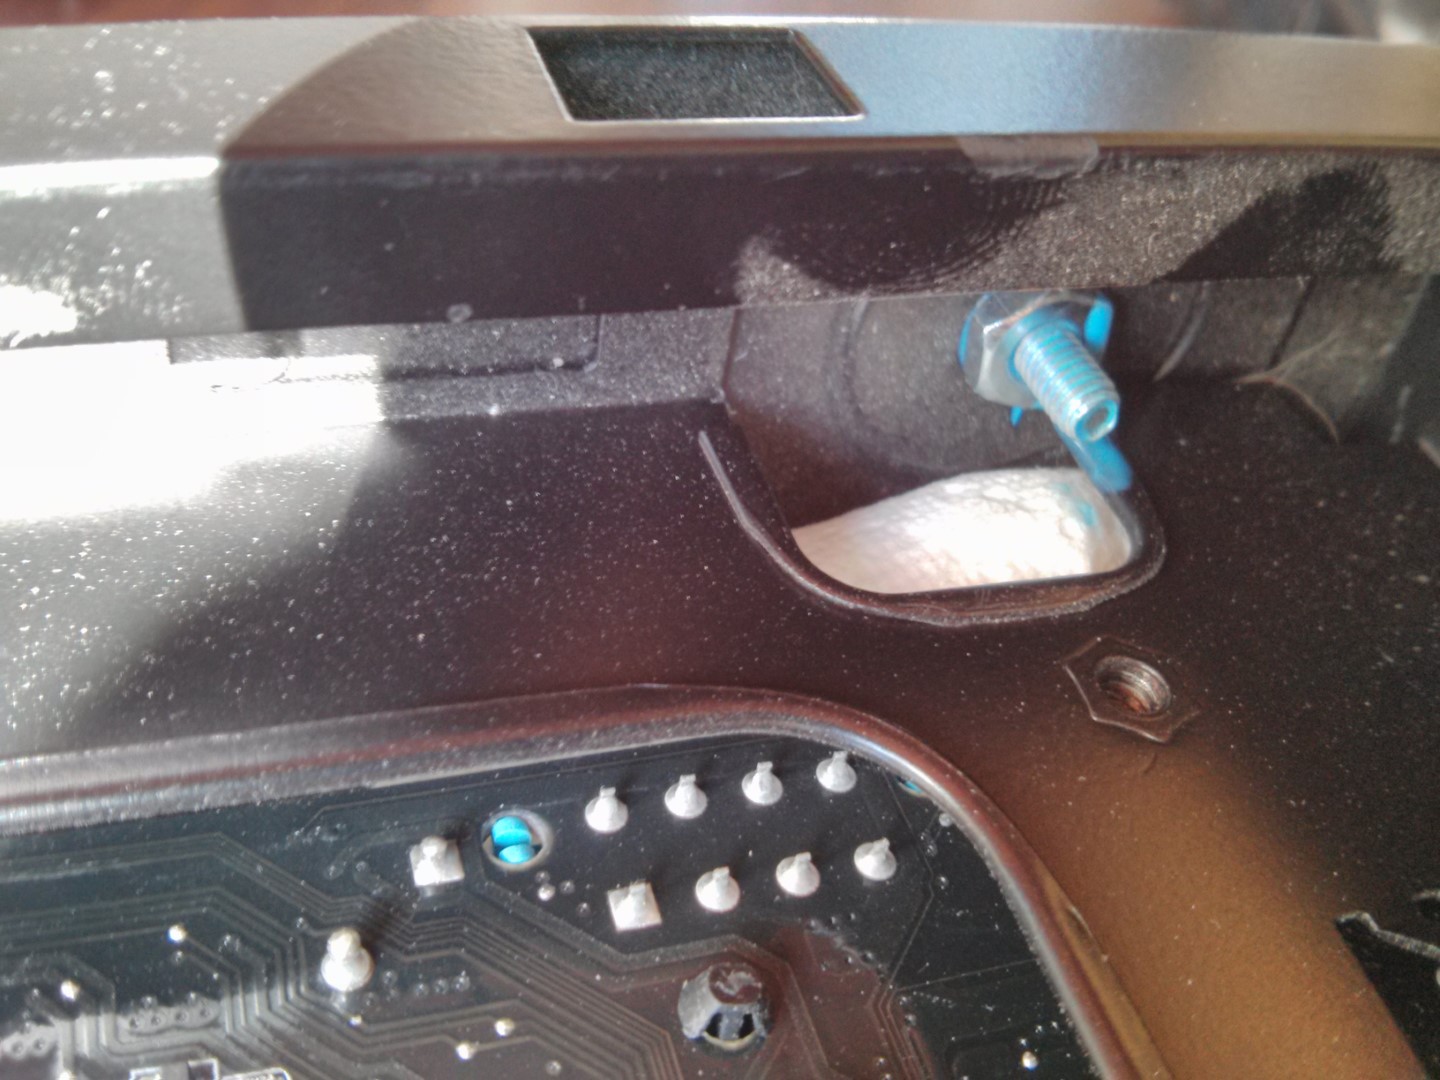
Here is another bolt at the front of my case. See how tight the clearance was. The metal case actually help the nut for me as I tightened it.
Repeat until all four feet are installed.
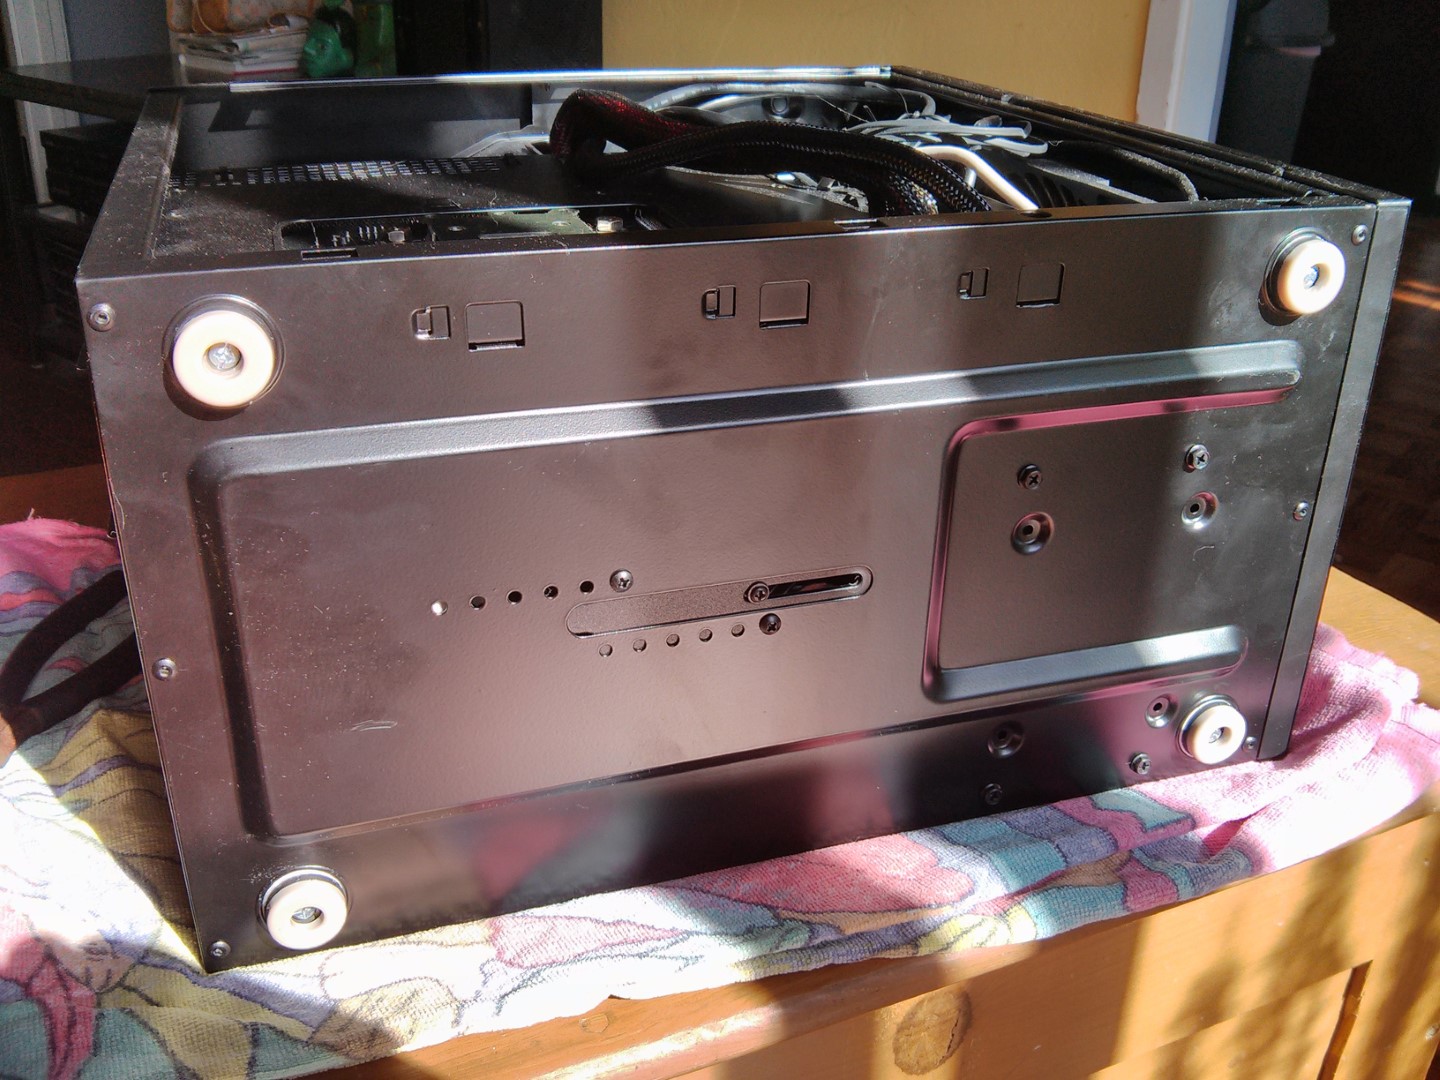
I hope this inspires you to upgrade your case with proper feet and let your cats wreak havoc on your old stick-on feet.
Enjoy!