So if you need a C++ compiler and IDE on Windows you have lots of choices. You can go the Microsoft route and get Visual C++ Express, but if you want to create “standard” C++ that may not be the best. I tried many different IDEs and compilers include Dev-Cpp, Eclipse, Cygwin, MinGW, and the before mentioned Visual C++. I found that NetBeans combined with Cygwin was the easiest to setup and use.
Downloads
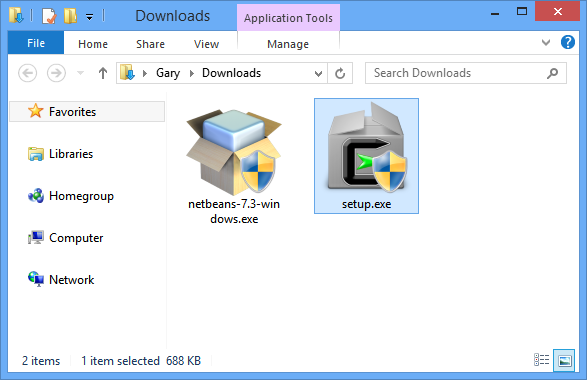
Get the Oracle NetBeans IDE from netbeans.org. Click on Download and get the C/C++ version or the “All” version. Save it to your Downloads folder.
Now go get Cygwin at cygwin.com. You need this because NetBeans, along with most other IDEs do not come with a compiler. Click on “Install Cygwin” and then “setup.exe”. Save it to your Downloads folder.
Install
Run the installer for NetBeans. Default options are fine.
You might need to have the Java Development Kit (JDK) installed too, but that is outside the scope of this article. I have the JDK installed for other things like Android Development so NetBeans just detected that version for me.
Uncheck the “send usage data” if you want.
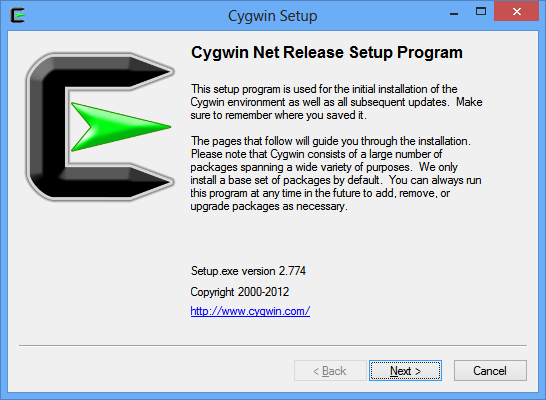
Run the installer for Cygwin.
Introduction: Click “Next”.
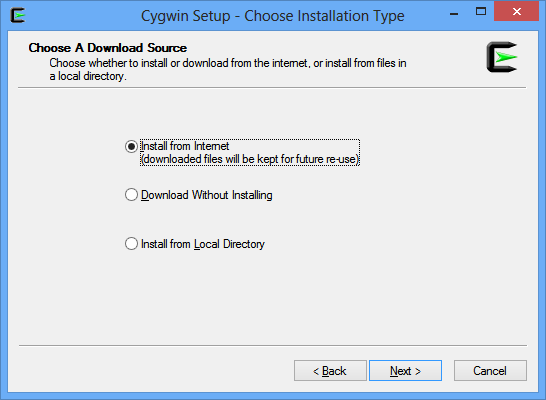
Download Source: The default is “Install of Internet”, click “Next”.
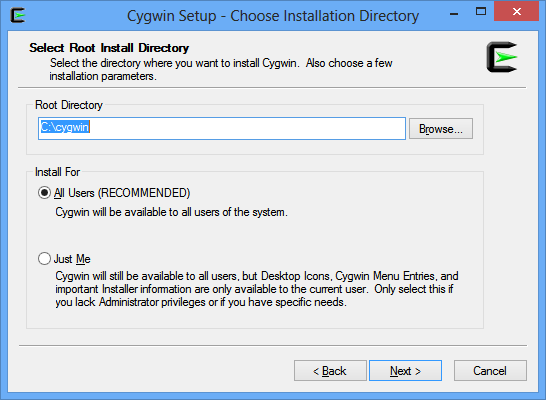
Installation Directory: The default is “C:\cygwin”. Now I hate when programs litter themselves all over my hard drive, but Cygwin is one that I think is best to put here. Change to a different drive letter if you want. Remember this as you will need the path later. Click “Next”.
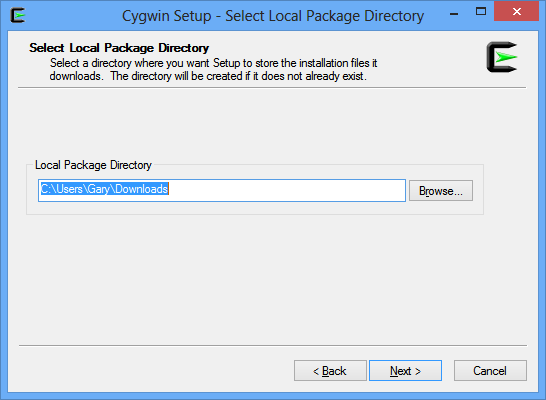
Local Package Directory: This is where Cygwin will download all of its install files. It will create a folder inside here so it will not litter this parent folder. Later you can delete the files it downloads. Click “Next”.
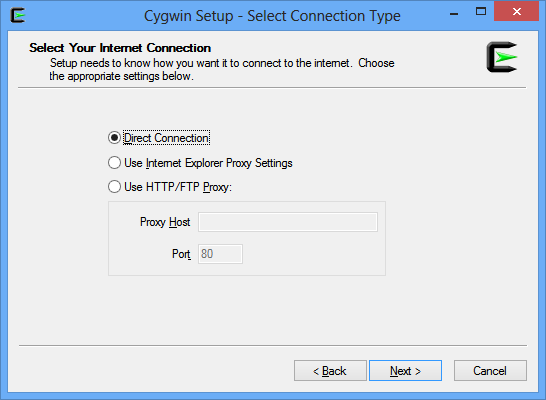
Internet Connection: Most likely you have “Direct Connection”. If not, set it here. Click “Next”.
Download Site: Choose one of the “Available Download Sites”. Click “Next”.

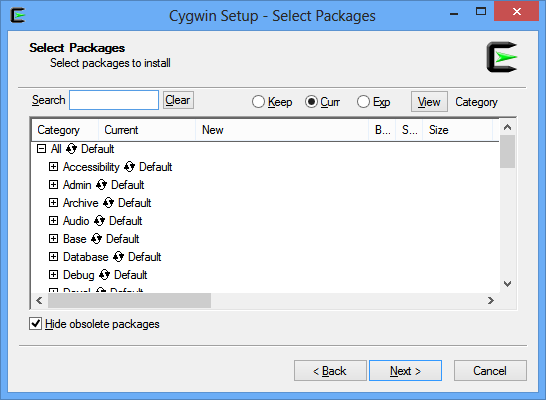
Select Packages: Now this is where we need to choose the packages we need to compile C++. What we need is not part of the “Default” install so you have to dig for what you want. the easiest way is to search for the package name then select it. The packages you need are gcc-core, gcc-g++, gdb, and make. When you select these the installer will then install all needed dependencies automatically. Click inside the Search box.
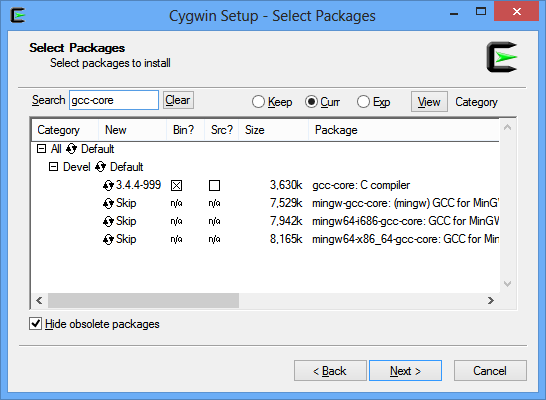
Type “gcc-core” and the list of packages will filter. Expand the “Devel” branch and click on “Skip” for “gcc-core: C compiler” so that a version number appears and there is an “X” in the “Bin?” column.
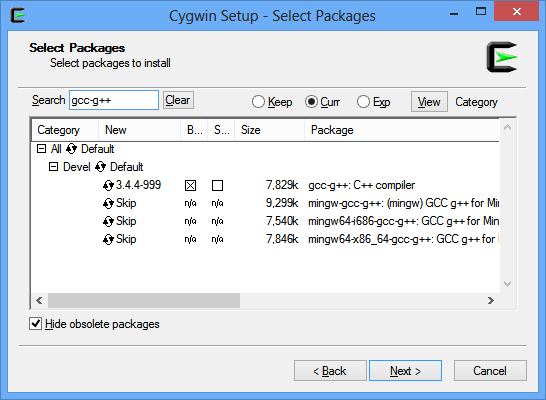
Click back into the Search box, erase “gcc-core” and type “gcc-g++”. Expand “Devel” and click on “gcc-g++: C++ compiler” so that there is a version number and the “X”.
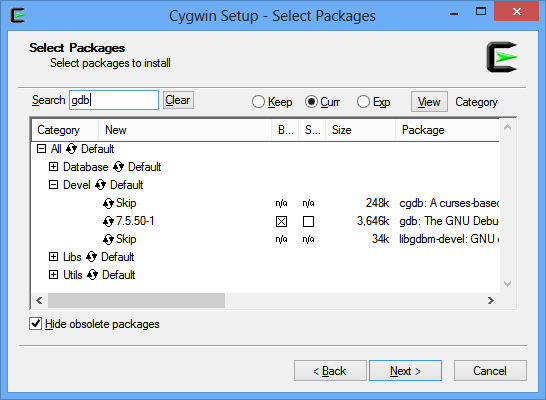
Next is “gdb: The GNU Debugger”. Do the same as the previous two, but be careful as “gdb” may not be the first choice in the list
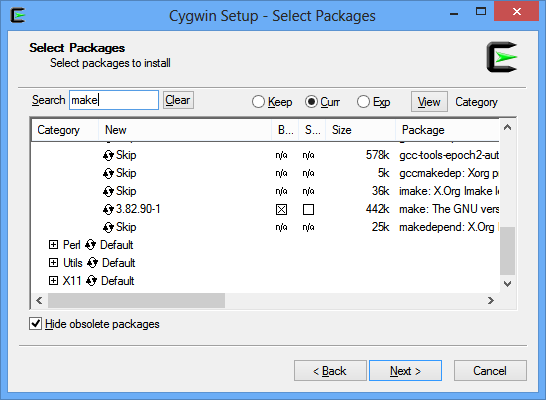
Last package is “make” and this one is tricky to find as your search will return many results. Do the search for “make” and expand “Devel”. Scroll down until you find “make: The GNU version of the ‘make’ utility”. Click on it just like the previous three time. Now we can click “Next”.
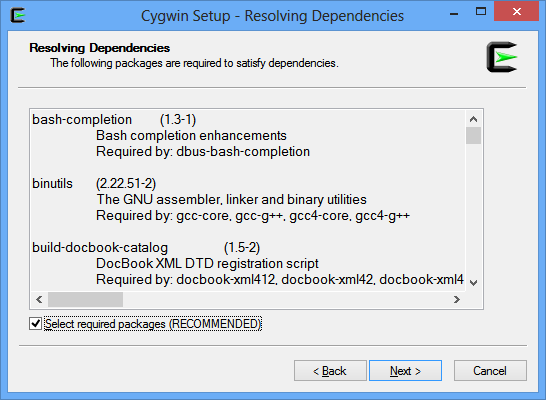
Resolving Dependencies: Now this is the part I talked about earlier. The Cygwin installed will need to also install a bunch of other packages that the packages we selected need. Leave the default checked for “Select required packages” and click “Next”.
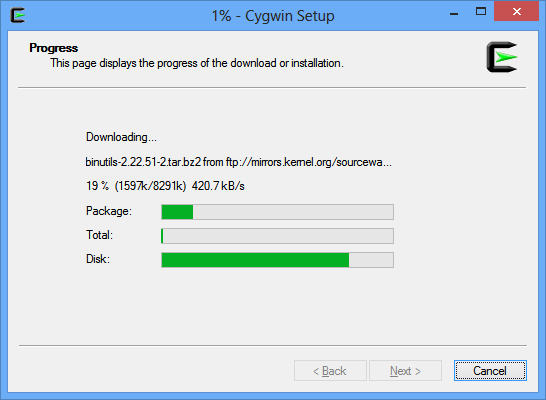
Download and Install: Now wait for the packages to be downloaded and installed. This could take several minutes or even longer depending on your download speed and your computer speed.
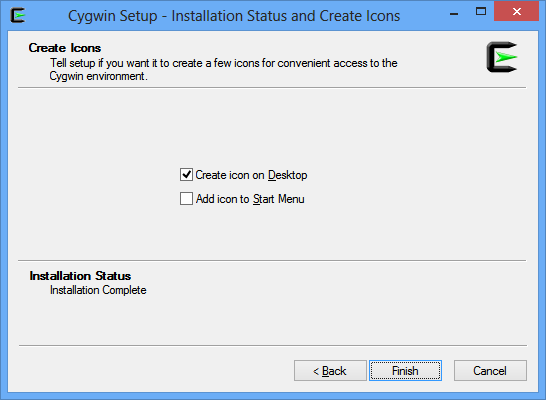
Installation Complete: Finally we are almost done installing Cygwin. Choose the icon options as you see fit and click “Finish”.
Configuration
Add Cygwin (“c:\cygwin\bin”) to PATH in Environmental Variables.
(this section is work in progress, but here are the basics)
Netbeans. Launch , go to “Tools” then “Options”. Click on “C/C++”. Detect Settings.
Validation
New C++ Project. Run!
Enjoy!